DIY Disposal and Dishwasher Maintenance

Is your dishwater smelly? Is your garbage disposal broken?

kitchen-dishwasher-disposal-home

This article explores what it takes to keep these vital appliances working as they were designed to and, in the case of your dishwasher, smelling fresh as well.

First, the Dishwasher …

If your dishwater gets smelly, these steps will freshen it up.

It’s a big mystery how a tool we use for cleaning can end up dirty, and foul smelling. The dishwater comes to mind; it can, and it does get dirty and smelly. One possible reason – the dishwater can easily end up being a dumping ground for food particle and grease build-up. To prevent this, you need to clean your dishwasher every so often to get rid of the food particle build up.

Another cause of the foul smell is inactivity. If you do not run your dishwasher on a daily basis, you might notice a smell emanating from the dishwasher.

Load Your Dishes the Right Way

Prevention, as the old adage goes, is better than a cure. Instead of having to remove food particles from the filter and the bottom of your dishwasher, it far better to deny the food particles access to your dishwasher.

To this end, you should thoroughly rinse off food particles before loading the dishes on your dishwasher. In doing this, you will not need to constantly remove the particles from your dishwasher. Importantly, you will not have to deal with a smelly dishwasher. And besides, scraping off any of food particles into your trash can is not too huge of a task when compared to cleaning your dishwasher.

Use the DIY Citrus Cleanse Solution

If you have not given your dishwashing endeavor the seriousness it deserves (you have not scraped off food from your plates or you haven’t cleaned the dishwasher for some time), all is not lost. Cut in half 2 lemons and place them in a bowl. Place the bowl and a cup of water on the bottom rack and run it. This will heat up the lemons, deodorizing the dishwasher.

How About A Vinegar Bath?

Instead of using water and lemons, you can use vinegar and do the same routine as described above.   Vinegar is a great cleaner and deodorizer and cost effective as well.

lemon-vinegar-clean

Get Rid of Trapped Food

As much as you might scrap food from your plates, you will inevitably miss some food particles. As such, inspect the filter and the bottom of the dishwasher for food debris and grease routinely. You can use a wet microfiber cloth dipped in soapy water to wipe the inside of the dishwasher.

Following these steps will go a long way in keeping your dishwasher smelling fresh and operating efficiently.

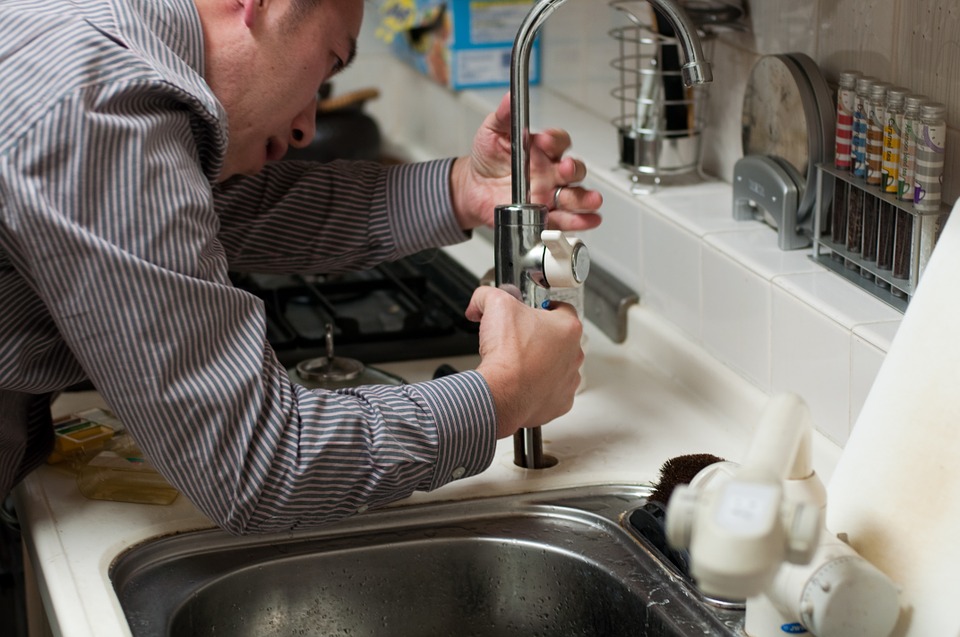
The Garbage Disposal

The garbage disposal is at its core a motor attached to a flywheel. The flywheel turns teeth that grind up food waste. When this system is well maintained the garbage disposal will work efficiently and effectively all year round.

Should your garbage disposal break down, here are some of the small repairs you can use to get it up and running.

Common Disposal Scenarios

Your Garbage Disposal Does Not Turn On

When your garbage does not turn on, it is highly likely that it has an electrical issue. Start by ensuring the unit has been plugged in. Thereafter, make sure that the circuit breaker has not been tripped. If these solutions do not work, check whether your garbage disposal has a reset button. If it does, press that button. If that still does not work, the problem might be a blown motor.  Call an expert to have a look.
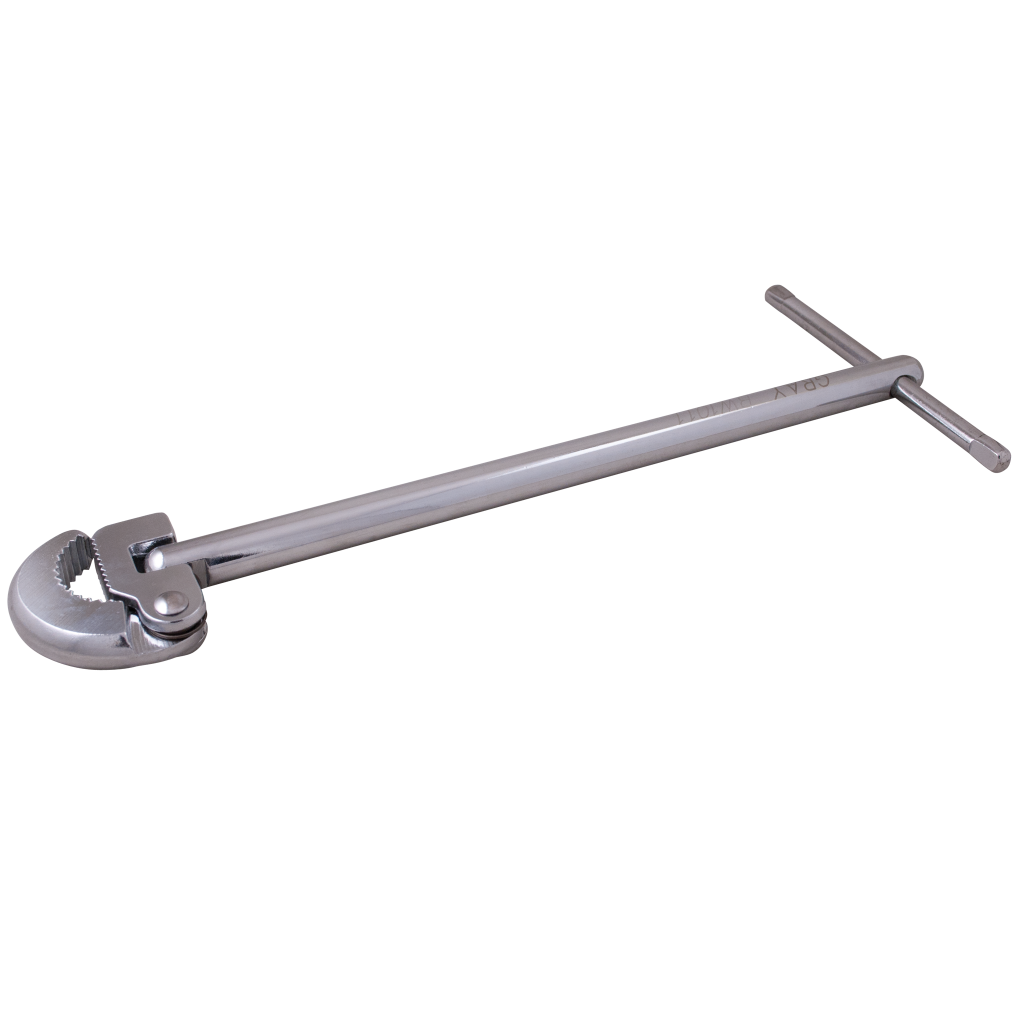
The Unit Only Hums

If your garbage disposal only makes humming noise without turning, it is highly likely that it’s stuck. Alternatively, you may have a worn out flywheel. If it’s stuck, you can use a broom handle to free it. If you feel confident, you can take a wrench and unscrew the flywheel cleaning it thoroughly thereafter.

kitchen-disposal-sink
Leaks

When your garbage disposal leaks, the main cause of the problem is usually a worn seal or hose. Check for signs of worn out hoses and seals.

Clogged Drain Lines

You should refrain from using chemical cleaners to clear backed up drain lines. Remove the garbage disposal, and visually inspect the line. If you notice obstructions, clear the obstructions using means other than chemicals cleaners.

Worn Out Teeth

If the flywheel has worn out teeth, you can get your garbage disposal in good working order by replacing or sharpening the grinding mechanism.

If these tips prove ineffective or you don’t feel capable, it is time to bring in professionals who can professionally diagnose the problem and make appropriate recommendations with regards to repairs and or replacements.

How to Replace Your Kitchen Faucet

Here’s What You Need to Consider Before Tackling This Project Your self

man working on kitchen sink repair

Tips On How To Replace A Kitchen Faucet

The hardest part of replacing kitchen faucets is removing and replacing the old one. There is always a chance that unexpected issue will pop up and could be anything from corroded pipes to poor access to fittings to difficult-to-reach nuts. Other than that, installing a new faucet shouldn’t be a problem.

Actually, all you need to do is follow the directions that come with a new faucet. Apart from any unforeseen issues arising, you should be washing up under a new faucet within an hour. In this piece, we will be walking you through the basic replacement process and how to handle the toughest parts of the project.

It is advisable that you get all the needed parts at your local hardware store beforehand. Chances are you will need to make several trips to the store for different parts as you get into this project if its your first time.

Here’s a few items to consider before heading over to the supplier …

Shutoff Valves: Before shopping for a new faucet (read the “Selecting a Faucet” article at the end of this article on how to replace a faucet), look under your sink and see if any shutoff valves feed your faucet. If you do not see any shutoff valves, then add them. However, if they are there, confirm that they are in good, working condition by turning on your faucet then shut off the valves. If it still drips, consider installing new ones. Chances are you have half-inch copper supply lines. If that is the case, then add solderless compression-fitting valves to your shopping list. If that’s not the case, buy valves that are compatible with your piping.

solderless valve

Piping and Tubing: The next thing you need to do is to measure existing supply tubes and purchase new stainless-steel-sleeved supply tubes. These tubes are designed to provide rupture-free service for many years and can be bent around obstacles without cracking or creating tension.


Basin Wrench: This is a special wrench needed to easily access the fixture nuts up in behind the sink. Getting a normal wrench up there may not be possible. These wrenches are not expensive and should run you about $15. This wrench, though a bit weird, is specifically made for removing and installing those hard to reach fasteners that were used to clamp older faucet systems to the sink.

Modern faucets now mostly come with plastic style Wing Nuts with larger fittings that can be tightened and loosened by hand. Basin wrenches have spring-loaded hinged jaws (see above) that pivot, allowing you to either loosen or tighten nuts located in very tight spaces.


Pump Pliers or Pipe Wrench: If you have to remove a drain line to access your faucet, then get pump pliers, often referred to as ‘channel locks’, or a pipe wrench. If there are copper tubes that need to be cut, purchase a conventional tubing cutter. However, if the copper supply line is a couple of inches to the rear of your cabinet, then consider getting a special ‘mini-tube cutter’. You will also need open-end wrenches for hooking up and disconnecting the water lines.


Before disconnecting your drain lines, make a sketch or take a photo of the layout. This will be of great help when putting things back together.

camera-hand-phone

Once you have pulled out all the buckets, old vases, and cleansers from under your sink, lie under there and look to see if the faucet can be easily accessed. If you cannot, it is time to start taking things that are blocking your path apart.

You will likely find that the main obstacles under there are the P-traps and pipes that drain your sink. Do not be afraid of pulling them out and do not be afraid of replacing them with new ones. If your drain lines are the older, chrome-plated ones, there is a likelihood that the pipe walls are so corroded that they will crush under the pressure of the jaws of slip-joint pliers or pipe wrench. After you’ve removed them, throw the parts in a container for exact matching at the store. If the drain parts are made of plastic, be very careful when removing them. Chances are you will still be able to use them again.

Sometimes, garbage disposer can weigh up to 20 lbs. Roadblock? Do not be discouraged. Removing it is quite simple. Reinstall it once the faucet has been installed. Unplug your disposer and pull it out of your cabinet to get it out of your way. If it is hard-wired, turn off the circuit breaker controlling the disposer, disconnect it from your sink and set it to the side of your cabinet and leave the electrical cables connected.

The first thing you need to do to remove the old faucet is to disconnect it from the water supply line. If there aren’t any shutoff valves and your water pipes are directly connected to the faucet’s supply lines, or if you are replacing a defective valve, then make sure you turn off your home’s main water service valve and cut the pipes below the old connections using a tube cutter or hacksaw.

It is imperative that you have the new valves closed before turning water service valve back on. Once you have disconnected the water lines, use your basin wrench, loosen and remove the old faucet.

Sometimes, despite all efforts, it is impossible to loosen old faucet nuts. But that shouldn’t bother you. Here is a trick. Spray the threads with some penetrating oil such as WD40, give it a minute or two, and try it again. Now, if that does not do it, you’ll unfortunately need to pull your sink off the counter so you have access to the nuts. It is not that hard to do. Loosen all the screws beneath the sink rim for clamp-down sinks, or cut the caulking between the countertop and the actual sink itself with a knife then lift it out. By doing so, you should be able to access the hard-to-unscrew nuts with a pipe wrench or locking pliers to free the faucet.

Follow the installation directions that come with the new faucet and remount your sink (with your new faucet already installed) then hook up all water lines.

Selecting A Faucet

When buying a faucet, remember the old saying, “you get what you pay for”. Faucets under $100 are usually substandard and are probably made using chrome-plated plastic, and their valves and seals wear out much faster. While they are okay for light use, the cannot withstand frequent use. Faucets within the $100 range and up are generally made using solid brass and have durable plating, and their washer-less controls offer leak-free, long-term service. There are some that even come with lifetime warranties. The more expensive a faucet, the better the quality. However, if you buy a faucet worth more than $200, then you probably are paying for finish and style.

When shopping for a faucet, stick with well-known brands; that way, finding replacement parts, should you ever require them, will be easier.

Tools You Will Need When Replacing a Kitchen Faucet

When handling a DIY kitchen faucet replacement project, it is vital that you have all the necessary tools ready to save time and to avoid frustration. You will need:

  • An adjustable wrench
  • A 4-in-1 screwdriver
  • Handsaw
  • Hammer
  • Basin wrench
  • Slip joint pliers
  • Wrench set
  • Pipe wrench

Materials You Will Need To Replace Your Kitchen Faucet

To avoid making last-minute trips to the hardware store, make sure that you have all the required materials at hand before you start replacing your kitchen faucet. Here is a list of a few things you may need:

  • Braided stainless-steel supply tubes
  • P-trap
  • 150 grit
  • Your new faucet
  • Shut-off valves
  • Sandpaper or sand cloth